Contrary to common belief, relentless scrubbing and bleach are often a waste of time and money against persistent contamination in food processing and healthcare facilities.
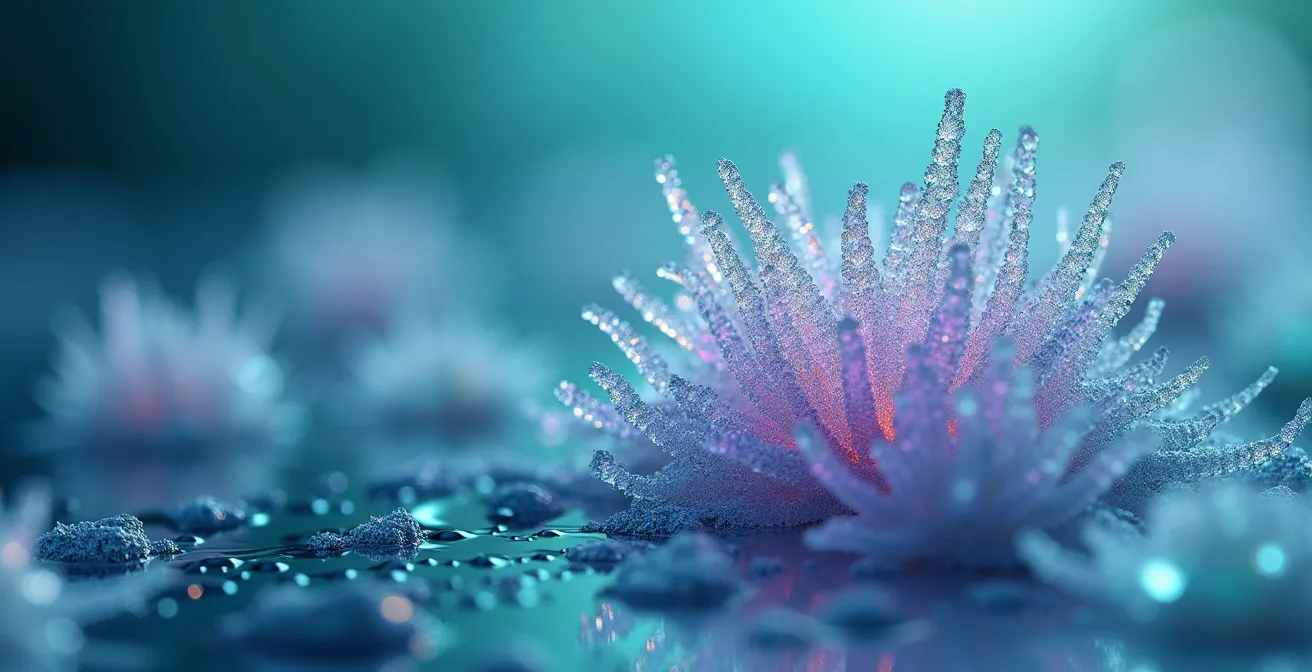
- Biofilms are not dirt; they are fortified bacterial “cities” with a protective shield that neutralizes most chemical attacks.
- Effective removal is a two-phase process: first, dismantle the protective shield, then kill the exposed bacteria within.
Recommendation: Shift from brute-force cleaning to a scientific protocol using targeted enzymatic cleaners, correct water temperatures, and verified mechanical action to achieve lasting sanitation.
As a manager in Quebec’s demanding food or health sectors, you’ve likely faced this frustrating scenario: a surface is scrubbed, sanitized, and appears spotless, yet a persistent odour returns, or contamination issues resurface with baffling speed. You’ve increased the cleaning frequency, switched to stronger chemicals, and retrained your staff, but the problem remains. This isn’t a failure of effort; it’s a failure of strategy. The conventional approach to cleaning, which treats all grime as a simple layer of dirt, is fundamentally ill-equipped to handle the true culprit: biofilms.
Most cleaning protocols are built on the platitudes of using more bleach or scrubbing harder. But these methods fail because they don’t account for the sophisticated, organized nature of microbial life. A biofilm is not just a random collection of germs; it is a structured community, a microscopic fortress built by bacteria to protect themselves from threats. The slimy, resilient layer you might find in a floor drain or on constantly moist equipment is an extracellular polymeric substance (EPS), a shield of sugars and proteins that is remarkably effective at neutralizing disinfectants and anchoring the colony to a surface.
The key to breaking this cycle of failure is to stop thinking like a janitor and start thinking like a microbiologist. The true weakness of a biofilm isn’t its toughness, but its structure. By understanding how these bacterial communities form, communicate, and defend themselves, we can develop protocols that dismantle their defenses systematically before moving in for the kill. This isn’t about more aggressive cleaning; it’s about smarter, targeted tactics that exploit the biology of the bacteria themselves.
This guide will deconstruct the science of biofilms and provide a practical, evidence-based framework for their eradication. We will explore why bacteria are so resilient in communities, how to physically break their defenses, the crucial role of enzymes versus the limitations of bleach, and how to verify that a surface is truly clean, creating a new standard of hygiene for your facility.
To help you navigate this in-depth analysis, the article is structured to build your expertise step-by-step. Below is a summary of the key areas we will cover, from understanding the enemy to implementing a winning strategy.
Summary: A Manager’s Guide to Overcoming Biofilms
- Why Do Bacteria Become Harder to Kill When They Form a Community?
- How to Use Agitation and Friction to Break Biofilm Barriers Effectively?
- Enzymatic Cleaners vs Bleach: Which Digests Organic Waste Better?
- The Cold Water Mistake That Stops Enzymes from Working on Bacteria
- How to Use UV Blacklights to Spot Organic Residues Invisible to the Eye?
- Why Does Urine Scale in Grout Lines Cause Smells That Won’t Go Away?
- How to Remove Biofilms That Shield Bacteria from Chemical Attacks?
- Sanitizing vs Disinfecting: Why Knowing the Difference Saves You Money and Sickness?
Why Do Bacteria Become Harder to Kill When They Form a Community?
A single bacterium floating in water is vulnerable. However, when bacteria gather on a surface, they undergo a profound transformation from isolated individuals into a cooperative, multicellular organism. This community, known as a biofilm, is exponentially more resilient than its individual members. The process begins when the first bacteria adhere to a surface and begin to secrete a slimy, glue-like matrix called the Extracellular Polymeric Substance (EPS). This matrix is the cornerstone of their defense, a physical barrier that shields the colony from chemicals, drying, and mechanical stress.
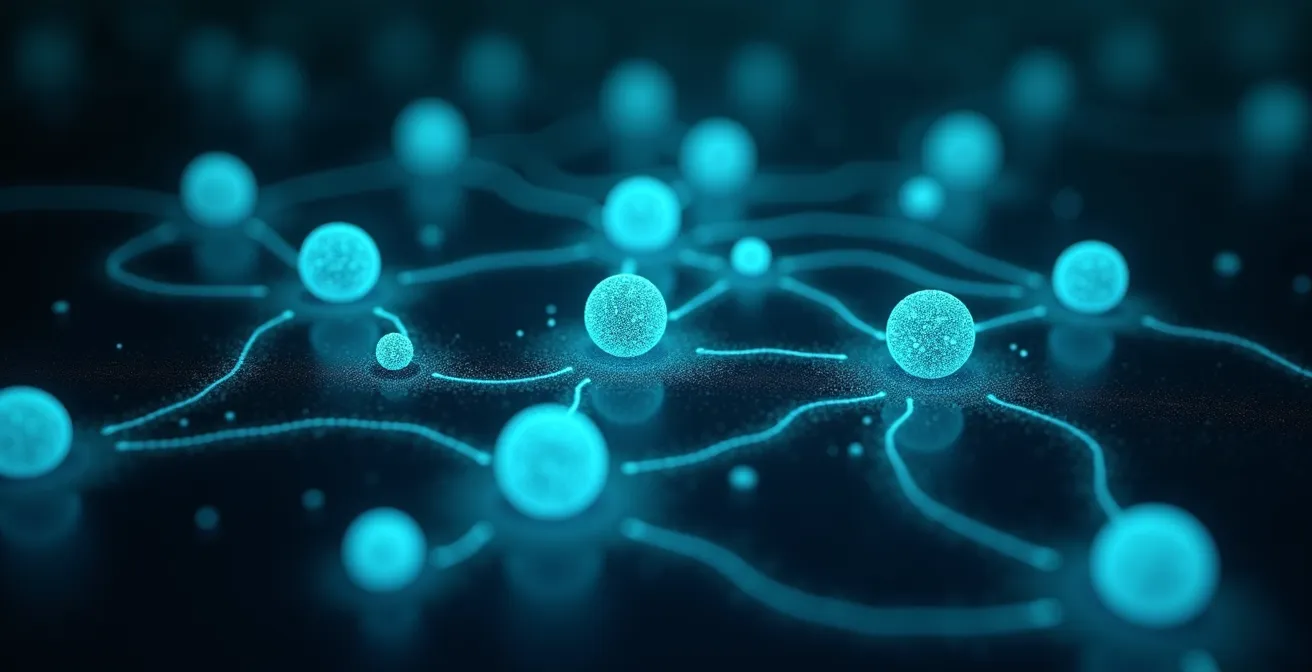
Within this fortress, bacteria communicate using a chemical signaling process called quorum sensing. As the population grows, the concentration of these signal molecules increases, triggering coordinated gene expression across the community. This allows them to act in unison, strengthening the EPS matrix, diversifying their metabolic functions, and activating defense mechanisms. Some bacteria may even enter a dormant state, making them highly resistant to antibiotics and disinfectants that target active cells. This collective intelligence makes a mature biofilm up to 1,000 times more resistant to disinfectants than free-floating bacteria.
This complex, self-organizing behaviour is a major challenge in sanitation. As highlighted by research from institutions like McGill University, developing technologies to disrupt these biofilm structures is a key frontier in public health. A team at the Research Institute of the McGill University Health Centre (RI-MUHC) developed a novel enzyme technology specifically to prevent biofilm formation and break down existing structures, demonstrating that the fight against biofilms is a fight against their community organization, not just the individual cells.
How to Use Agitation and Friction to Break Biofilm Barriers Effectively?
Since the EPS matrix is a biofilm’s primary shield, no chemical treatment can be fully effective until that shield is compromised. This is where mechanical disruption—the scientific term for targeted agitation and friction—becomes the most critical first step in any effective cleaning protocol. Brute force is not the goal; strategic action is. The objective is to physically scrape, scrub, or blast away the protective outer layers of the biofilm to expose the vulnerable bacteria colonies underneath to subsequent chemical treatments.
The choice of tool and the amount of pressure are crucial and depend entirely on the surface. A stiff nylon brush is ideal for dislodging biofilms from durable tile grout, whereas a delicate acrylic shower surface requires a non-scratch pad to avoid creating micro-abrasions where new biofilms can form. For larger areas like a commercial kitchen floor or an outdoor cedar deck common in Quebec, a pressure washer can provide the necessary force, but the pressure must be calibrated to avoid damaging the surface itself. This deliberate application of friction is not just “scrubbing”; it’s a tactical maneuver to breach the fortress wall.
The following table provides a starting point for selecting the right tools for common surfaces found in Quebec homes and facilities, with suggestions on where they can be sourced locally.
| Surface Type | Recommended Tool | Pressure Level | Where to Buy in Quebec |
|---|---|---|---|
| Tile Grout | Stiff Nylon Brush | Medium-High | Canadian Tire, RONA |
| Cedar Deck | Pressure Washer (1500-2000 PSI) | Medium | Home Depot, RONA |
| Acrylic Shower | Non-scratch Pad | Low-Medium | Canadian Tire, Walmart |
| Stainless Steel | Microfiber Cloth | Low | Costco, Canadian Tire |
A systematic approach ensures that mechanical action is applied correctly and sets the stage for the next phase of cleaning. A proper protocol always begins with removing the physical barrier first.
Enzymatic Cleaners vs Bleach: Which Digests Organic Waste Better?
Once the biofilm’s outer shell is weakened by mechanical action, the next step is to dissolve the remaining EPS matrix and the organic matter that feeds the bacteria. Here, facility managers face a critical choice: the broad-spectrum chemical assault of bleach or the targeted biological approach of enzymatic cleaners. While bleach is a powerful oxidizer, its effectiveness against the complex structure of biofilms is severely limited. The organic material within the EPS matrix rapidly neutralizes bleach, exhausting its power before it can reach the bacteria within. In fact, research from healthcare facilities shows bleach requires 15 minutes or more just to begin removing embedded germs in a biofilm, a time frame rarely achieved in standard cleaning protocols.
Enzymatic cleaners, by contrast, work like a digestive system. They don’t burn through organic matter; they dismantle it. These cleaners contain specific enzymes, typically proteases, which are proteins designed to break down other proteins. The EPS matrix is rich in proteins and polysaccharides, which are the precise targets of these enzymes. An enzymatic cleaner like Tergazyme, for instance, uses protease to digest the cellular and protein components of the biofilm, while its surfactant ingredients act as wetting agents, allowing the solution to penetrate the water-resistant layers of the matrix. This “digestion” process breaks the biofilm down from the inside out, turning the solid structure into a soluble residue that can be easily rinsed away.
This makes enzymes far superior for the cleaning phase of biofilm removal. They surgically break down the organic waste and protective structure, leaving the bacteria exposed and ready for the final disinfecting step. Bleach, when used on a dirty, biofilm-covered surface, is mostly wasted effort.
The Cold Water Mistake That Stops Enzymes from Working on Bacteria
Choosing an enzymatic cleaner is only half the battle; using it correctly is what determines its success. The single most common mistake that renders these powerful biological tools ineffective is using them with water at the wrong temperature. Enzymes are not simple chemicals; they are complex proteins whose activity is highly dependent on their environment, especially temperature. Using cold water, particularly the frigid tap water common during Quebec winters which can be as low as 4-7°C, is like putting the enzymes into hibernation. It drastically slows down their metabolic rate, preventing them from effectively digesting the biofilm’s matrix.
Conversely, using water that is too hot (e.g., boiling) is equally destructive. High temperatures will denature the enzymes, permanently altering their shape and destroying their ability to function. Each enzyme has an optimal temperature range for peak performance. For the protease enzymes commonly used in cleaning, the optimal temperature range is generally 90-130°F (32-54°C). This “comfortably warm” temperature, akin to a baby’s bath water, provides the perfect amount of thermal energy to maximize the rate of enzymatic reactions without causing damage.
To ensure you get the full value from your enzymatic cleaners, follow these temperature guidelines:
- Never use cold tap water directly. Always mix with hot water to achieve a warm solution.
- Aim for a “comfortably warm” temperature. If you can comfortably place your wrist in it, the temperature is likely in the correct range (30-50°C).
- Never use boiling water. This will instantly deactivate the enzymes.
- Allow for longer contact time. If you cannot achieve the optimal temperature, you must compensate by letting the solution sit on the surface for a longer period to give the sluggish enzymes more time to work.
By respecting these thermal parameters, you ensure that the enzymes are working at full capacity to digest the biofilm, transforming your cleaning protocol from a hopeful guess into a predictable scientific process.
How to Use UV Blacklights to Spot Organic Residues Invisible to the Eye?
One of the greatest challenges with biofilms is their invisibility in the early stages. A surface can look and feel clean while harbouring a thriving microbial community and the organic residues that feed it. This is where a UV-A blacklight becomes an invaluable diagnostic tool for any serious sanitation program. Under a blacklight, you are not seeing the bacteria themselves, but rather the organic matter they live in and feed on. Proteins, minerals, and the biofilm’s own EPS matrix fluoresce, revealing the hidden landscape of contamination.
In a professional setting, a UV light is used for auditing cleaning effectiveness. After a surface has been cleaned and dried, an inspector can scan it with a blacklight in a darkened room. Areas that were missed or improperly cleaned will glow, typically with a mottled, patchy, or smear-like fluorescence that indicates organic material. This provides immediate, undeniable visual feedback on the quality of the cleaning process. It helps identify problem areas, train staff on proper techniques, and verify that a surface is truly ready for the final disinfection step.
For facility managers in Quebec, a UV light is particularly useful for spotting contamination in areas prone to moisture and organic buildup. This includes the grout lines in bathrooms and kitchens, the bases of toilets, the interior of ice machines, and especially around window sills where condensation accumulates during the province’s humid summers and cold winters. Differentiating biofilm from other fluorescent materials, like soap scum or laundry detergent residue, takes practice. Biofilms tend to have a duller, more “organic” and irregular glow, while synthetic chemicals often fluoresce with a brighter, more uniform pattern.
Why Does Urine Scale in Grout Lines Cause Smells That Won’t Go Away?
The persistent, foul odour emanating from public or high-traffic washrooms is a classic sign of an entrenched biofilm problem, specifically one fed by urine. Porous cement grout lines are the perfect habitat. Urine contains water, salts, and, crucially, urea, which bacteria metabolize into ammonia—the source of the sharp, unpleasant smell. When urine soaks into the grout, it crystallizes into uric acid scale, creating a hard, rough deposit that is difficult to remove and provides an ideal anchor for bacteria.
The bacteria colonize this scale, forming a biofilm that traps more urine, feeds the colony, and constantly produces ammonia. Standard cleaning with bleach or all-purpose cleaners is ineffective. The chemicals are neutralized by the organic load, and they cannot penetrate the uric scale to reach the biofilm beneath. You might temporarily mask the odour, but the biofilm factory remains intact. The problem is compounded by the biofilm’s rapid regrowth; research shows some biofilms can regrow to pre-treatment levels within just four days, explaining why the smell returns so quickly.
Eradicating this problem requires a multi-step protocol that targets both the uric scale and the biofilm:
- Step 1: Enzymatic Digestion. First, apply a protease-based enzymatic cleaner to the dry grout. Let it dwell for at least 30 minutes. The enzymes will digest the protective biofilm layer and the organic components of the urine.
- Step 2: Acidic Dissolution. After the enzymes have worked, use a grout-safe acidic cleaner. The acid will dissolve the hard, crystalline uric scale that the enzymes couldn’t break down.
- Step 3: Rinsing and Disinfection. Thoroughly rinse the area with water to remove all loosened debris and chemical residues. Only then, on the truly clean surface, should you apply a disinfectant to kill any remaining bacteria.
- Step 4: Sealing. Once the grout is completely clean and dry, apply a quality grout sealant. This fills the pores in the grout, preventing future absorption of urine and denying bacteria a place to anchor.
This systematic approach is the only way to permanently eliminate urine odours by removing both the biofilm and the scale it lives on.
How to Remove Biofilms That Shield Bacteria from Chemical Attacks?
Removing an established biofilm is a tactical operation that requires a clear understanding of its defenses. As we’ve established, the EPS matrix acts as a shield, making direct chemical assault futile. The strategy must therefore focus on dismantling this shield to expose the bacteria. This combines the principles of mechanical disruption and enzymatic digestion into a unified protocol. The goal is to peel back the layers of the biofilm’s defenses before applying a final, lethal blow.
Identifying where to focus your efforts is the first step. Biofilms thrive in areas with moisture and a nutrient source. The following checklist highlights common hotspots in commercial or residential settings in Quebec, where humidity and temperature fluctuations create ideal growing conditions.
| Location | Risk Level | Frequency of Biofilm Formation | Recommended Cleaning Frequency |
|---|---|---|---|
| Toilet rim underside | High | Weekly | 2x per week |
| Sink drains | High | Weekly | Weekly |
| Basement floor drains | Medium-High | Monthly | Bi-weekly |
| Window sills (condensation areas) | Medium | Seasonal (winter) | Monthly in winter |
| Washing machine gaskets | High | Bi-weekly | Weekly |
Beyond removal, advanced strategies focus on prevention. Research from Agriculture and Agri-Food Canada (AAFC) explores the concept of “biofilm ecology.” As one AAFC scientist explains in a review of their work on food processing safety, “it is better to have beneficial bacteria in place to reduce the risk of pathogenic colonization.” This involves introducing harmless bacteria that outcompete dangerous pathogens for space and nutrients on a surface, creating a stable, non-threatening biofilm that acts as a placeholder. While this is an advanced industrial strategy, it underscores the core principle: managing the microbial environment is more effective than attempting to sterilize it endlessly.
Your 5-Point Biofilm Weakness Audit
- Identify Hotspots: List all surfaces with constant or frequent moisture (drains, gaskets, grout, HVAC pans) as potential biofilm reservoirs.
- Review Cleaning Tools: Inventory your current brushes, pads, and equipment. Do they provide adequate mechanical friction for each hotspot surface without causing damage?
- Analyze Chemical Protocols: Confront your current process. Are you applying disinfectants to visibly soiled surfaces? Does your protocol include a dedicated enzymatic cleaning step before disinfection?
- Check Temperatures & Dwell Times: Audit your team’s real-world practices. Is warm water being used for enzymes? Are specified dwell times being respected or cut short?
- Implement Verification: Plan to use a UV blacklight or ATP meter post-cleaning on a key hotspot to get an objective measure of “clean” versus “looks clean.”
Key Takeaways
- A biofilm is a structured bacterial fortress, not just a layer of dirt; it requires a strategic, multi-step removal process.
- Effective cleaning is a two-phase operation: first, dismantle the biofilm’s protective shield using mechanical action and enzymes, then kill the exposed bacteria with a disinfectant.
- Process parameters are not optional. The effectiveness of enzymatic cleaners is critically dependent on correct water temperature (warm, not cold or boiling) and sufficient contact time.
Sanitizing vs Disinfecting: Why Knowing the Difference Saves You Money and Sickness?
In the language of facility management, the terms “sanitizing” and “disinfecting” are often used interchangeably, but for a microbiologist—and for Health Canada—they represent two distinct outcomes with critical implications for safety and budget. Understanding this difference is the final piece of the puzzle in an effective cleaning protocol. Applying the wrong process at the wrong time is both wasteful and dangerous.
Sanitizing is the process of reducing the number of microorganisms on a surface to a level considered safe by public health standards. It doesn’t eliminate all germs, but it lowers their population to minimize the risk of transmission. Sanitizers are perfect for everyday, low-risk surfaces like office desks, high chairs, or food-contact surfaces that don’t touch raw meat.
Disinfecting, on the other hand, is a kill step. It is the process of eliminating or inactivating virtually all pathogenic microorganisms on a surface. Disinfection is reserved for high-risk situations: a hospital room after a patient is discharged, a surface contaminated with raw poultry, or an area exposed to bodily fluids. In Canada, any product claiming to be a disinfectant must have a Drug Identification Number (DIN) from Health Canada, certifying that it has been tested and proven effective at killing specific pathogens.
Herein lies the most critical rule of sanitation, a mantra in healthcare settings:
You cannot disinfect a dirty surface.
– Healthcare Facility Cleaning Standards, HFM Magazine
When a disinfectant is applied to a surface covered in a biofilm or other organic soil, it is neutralized before it can reach the bacteria. You are essentially pouring expensive, DIN-approved chemicals down the drain. The correct, most cost-effective, and safest protocol is always to clean first, then disinfect. By using mechanical action and enzymatic cleaners to remove the biofilm, you create a clean slate upon which a disinfectant can do its job effectively. Using an expensive disinfectant for a sanitizing job is a waste of money; using a sanitizer when a disinfectant is needed is a health risk. Knowing the difference is fundamental to a professional, science-based sanitation strategy.
Frequently Asked Questions on Biofilm and Cleaning Protocols
What exactly glows under UV light when detecting biofilm?
It’s not the bacteria themselves that glow, but the proteins and minerals in organic matter and the biofilm’s EPS (extracellular polymeric substance) matrix that fluoresce under UV light.
How can I distinguish biofilm from other fluorescent materials?
Biofilm typically shows a mottled, irregular ‘organic’ glow pattern, while synthetic materials like detergent residues show uniform, solid fluorescence.
Which areas should I check first with a UV light in my Quebec home?
Focus on bathroom grout lines, around toilet bases, sink overflows, and areas with frequent condensation like window sills during Quebec’s humid summers.
What does a DIN number mean on Canadian cleaning products?
A Drug Identification Number (DIN) from Health Canada is required for all disinfectants sold in Canada, indicating the product has been evaluated and authorized for sale as a disinfectant.
When should I use a sanitizer vs a disinfectant in my Quebec home?
Use sanitizers for everyday cleaning like high chairs and countertops (reduces germs to safe levels). Use disinfectants for high-risk situations like raw meat preparation areas or illness in the home (kills nearly all germs).
Why won’t disinfectants work on biofilm-covered surfaces?
Disinfectants are neutralized by the organic matter in biofilms before they can reach the bacteria, making them ineffective without prior cleaning to remove the biofilm.