Delivering a truly clean and safe post-renovation site goes beyond simple vacuuming; it requires managing the physics of invisible silica dust to avoid client complaints and liability.
- Standard cleaning methods often fail by making ultra-fine dust airborne again, leading to its reappearance 24-48 hours later.
- The keys to effective dust control are systemic: creating negative air pressure zones and implementing a multi-stage cleaning protocol that respects particle settling times.
Recommendation: Shift from a one-time “big clean” to a phased approach involving rough cleaning, a settling period, and a final detailed cleaning with HEPA filtration and air scrubbing to guarantee air quality.
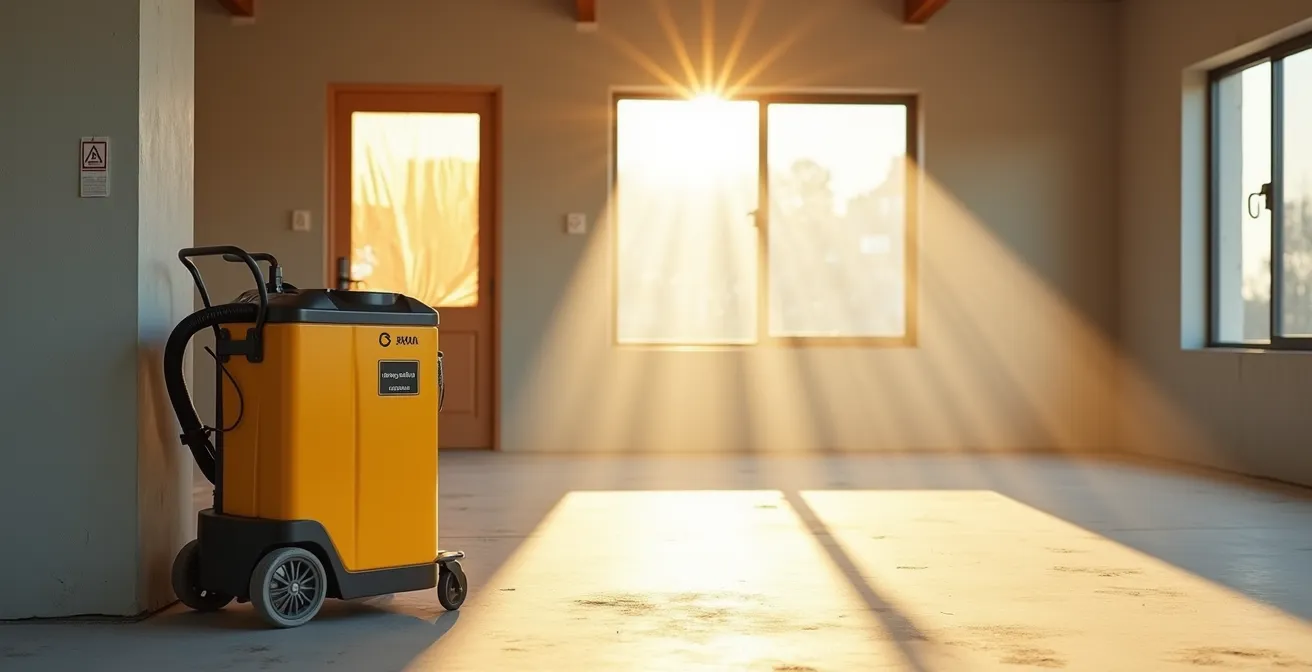
As a general contractor in Quebec, you know the final 1% of the job determines 99% of client satisfaction. You’ve just completed a major renovation, the finishes are perfect, but a persistent, invisible enemy remains: crystalline silica dust. This isn’t just the coarse dust you can see; it’s the ultra-fine particulate matter from drywall, concrete, and mortar that lingers in the air. The common approach is a thorough vacuuming and wiping, yet clients often call back complaining that the dust has “magically” reappeared on their new surfaces.
This recurring issue isn’t magic; it’s physics. Standard vacuums and dry-wiping techniques are often insufficient. They either lack the filtration to capture microscopic particles or, worse, they disturb settled dust, making it airborne again. These particles can then take 24 to 48 hours to resettle, creating a cycle of recontamination that frustrates clients and can even pose health risks, a major concern for any professional accountable to CNESST standards. This is where many contractors fall short, treating a complex air quality problem with simple janitorial solutions.
But what if the solution wasn’t to clean harder, but to clean smarter by controlling the environment itself? The key to delivering a truly clean, safe, and ready-to-occupy space lies in adopting the principles of industrial hygiene. It’s about managing air pressure, understanding particle residence time, and using equipment designed not just to move dust, but to capture and remove it from the building’s ecosystem entirely. This approach transforms the final cleanup from a chore into a quantifiable, scientific process that protects your work, your client’s health, and your professional reputation.
This article will guide you through the professional-grade strategies required to definitively eliminate post-renovation dust. We will break down the science behind dust behaviour and provide a structured methodology for containment, cleaning, and HVAC protection, ensuring you hand over a site that is not just visibly clean, but hygienically safe.
Summary: A Contractor’s Guide to Post-Renovation Air Quality and Dust Control
- Why Does Drywall Dust Reappear 24 Hours After a Standard Vacuuming?
- How to Create Negative Air Pressure Zones to Contain Dust During Cleanup?
- Damp Mopping vs Auto-Scrubbing: Which Removes Construction Residue Without Scratching?
- The Vent Taping Mistake That Contaminates Your HVAC System During Sanding
- How to Schedule the “Rough Clean” vs “Final Clean” to Avoid Double Work?
- The Renovation Mistake That Clogs Ducts Before the Building Opens
- How to Transition from Carpets to Hard Floors While Minimizing Dust Clouds?
- Why Dirty HVAC Ducts Increase Your Winter Heating Bills by Over 10%?
Why Does Drywall Dust Reappear 24 Hours After a Standard Vacuuming?
The frustrating phenomenon of dust reappearing on a freshly cleaned surface is not a sign of poor work, but a misunderstanding of dust physics. Drywall and concrete dust, especially silica, is comprised of particles of varying sizes. While your standard shop-vac can capture larger, visible particles, it’s the ultra-fine particles (under 10 microns) that cause the problem. These particles are so light that any air disturbance—like walking, a non-HEPA vacuum exhaust, or even the HVAC system kicking on—can make them airborne. Once airborne, they have a long residence time, remaining suspended for 24 to 48 hours before finally settling via gravity.
When you perform a “final clean” immediately after work stops, you are only capturing the dust that has already settled. The air is still saturated with microscopic particles that are invisible to the naked eye. Over the next day or two, this suspended dust slowly settles, forming a new, uniform layer on every horizontal surface. This is why a site that looked perfect at 5 PM on Friday is covered in a fine film of dust by Monday morning. The dust didn’t “reappear”; it was simply finishing its journey from the air to the surface.
The solution is not to vacuum more aggressively, but to implement a cleaning protocol that accounts for this particle settling period. True professional post-construction cleaning is a multi-day process. It involves an initial clean to remove the bulk of the debris, followed by a deliberate waiting period to allow the air to clear. Only after this settling phase can a detailed, top-to-bottom final clean be effective. Without this understanding, you are condemned to a frustrating cycle of re-cleaning, wasting time and resources while failing to deliver a truly clean environment.
How to Create Negative Air Pressure Zones to Contain Dust During Cleanup?
The most effective way to manage airborne dust is to control where it goes. Rather than letting it spread throughout the entire building, professionals create containment zones using negative air pressure. This technique turns a room or area into a giant vacuum, continuously pulling air from adjacent clean spaces into the work zone, and then exhausting it outside through a filter. This ensures that any dust generated during cleaning activities is contained and prevented from migrating to other parts of the property. This is the gold standard for any remediation or abatement work.
Creating a negative pressure zone involves three key components:
- Sealing the Area: Use 6-mil polyethylene sheeting to seal off doorways, HVAC vents, and any other openings between the work zone and clean areas. A single entry/exit point should be created with a double-flap or zipper system to maintain the seal.
- Using an Air Scrubber: An industrial air scrubber equipped with a HEPA filter is the engine of the system. This machine draws in contaminated air from the work zone, filters out the fine particles, and exhausts clean air.
- Exhausting Correctly: The clean air from the scrubber must be ducted to the exterior of the building. This action of pulling air from the room and sending it outside is what creates the “negative” pressure, causing air to flow into the room from surrounding areas, not out of it.
The effectiveness of this system is measured in Air Changes per Hour (ACH). For remediation work, professional remediation standards recommend 6-12 ACH. For a contractor, this is a calculable metric. For example, a 40 x 30-foot room with 10-foot ceilings has a volume of 12,000 cubic feet. To achieve 6 ACH, you need to move 72,000 cubic feet of air per hour (12,000 x 6). Divided by 60 minutes, this requires an air scrubber capacity of 1,200 CFM (Cubic Feet per Minute). This calculation allows you to select the right equipment for the job, moving from guesswork to a predictable, professional outcome.
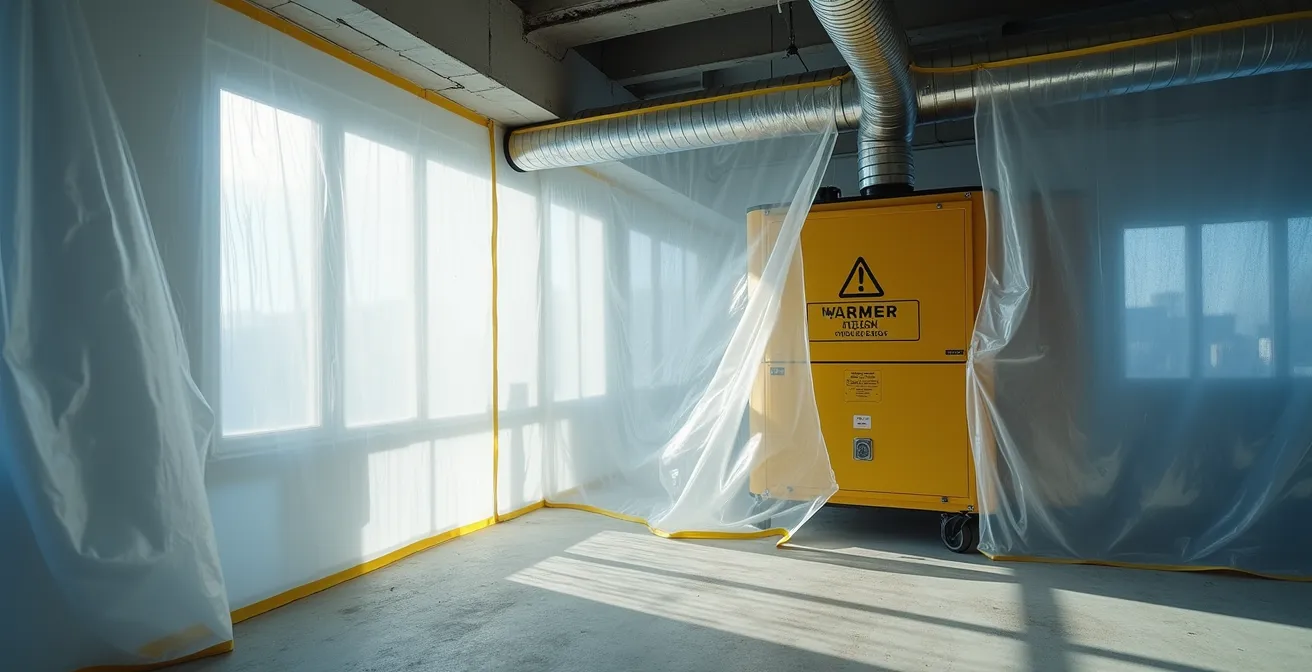
As you can see, the inward billow of the plastic sheeting is a visual confirmation that the pressure inside is lower than outside. This simple setup is the single most effective measure to prevent cross-contamination and ensure that your cleaning efforts are focused and efficient, not just spreading the problem around.
Damp Mopping vs Auto-Scrubbing: Which Removes Construction Residue Without Scratching?
Once airborne dust is controlled, the focus shifts to surface cleaning, especially floors. A common mistake here is aggressive damp mopping. While it seems logical to use water to capture dust, mixing water with fine silica and gypsum creates a highly abrasive slurry. When you push this slurry around with a mop, you are essentially wet-sanding the brand-new flooring you just installed. This is particularly damaging to delicate finishes like engineered hardwood, luxury vinyl plank (LVP), and high-gloss polished concrete, leading to microscopic scratches that dull the finish and create a massive liability issue.
The professional alternative is the auto-scrubber. This machine provides a far superior and safer clean for two reasons. First, it applies the cleaning solution, gently scrubs the surface, and immediately vacuums up the dirty liquid in a single pass. The abrasive slurry has no time to be ground into the floor. Second, this immediate extraction removes far more embedded dust from grout lines and surface textures than a mop ever could. While a HEPA vacuum is essential for the initial dry dust removal, the auto-scrubber is the tool for the final, deep clean on hard surfaces.
The choice of method and cleaning agent must be tailored to the specific flooring material, a key consideration in Quebec renovations which often feature maple hardwood and ceramic. A generic approach can cause irreversible damage. Best practices include:
- Maple Hardwood: Perform a thorough HEPA vacuum first. Then, use an auto-scrubber with a neutral pH cleaner and minimal water to prevent saturation.
- Ceramic Tile: An auto-scrubber with a slightly alkaline cleaner is effective at lifting fine dust embedded in grout lines.
- Polished Concrete: Only use an auto-scrubber. Acidic cleaners, even vinegar, can etch the surface and ruin the polish.
- Waste Water Disposal: Critically, the contaminated water collected by the auto-scrubber must be disposed of according to the environmental regulations set by RECQ (Regroupement des récupérateurs et des recycleurs de matériaux de construction et de démolition du Québec).
This table compares the methods for cleaning post-construction dust on floors:
| Method | Effectiveness | Risk to Flooring | Best For |
|---|---|---|---|
| Damp Mopping | Moderate – captures surface dust | High – creates abrasive slurry | Sealed concrete, ceramic tile |
| Auto-Scrubbing | Excellent – removes and extracts | Low – immediate vacuum extraction | All flooring types including hardwood |
| HEPA Vacuum Only | Good for dry dust | None | Initial rough cleaning phase |
The Vent Taping Mistake That Contaminates Your HVAC System During Sanding
Taping over HVAC vents during sanding and demolition is a standard, necessary step. However, the critical mistake most often made is in the timing and procedure of *uncovering* them. If vents are unsealed before the final, detailed clean is complete and all airborne dust has been removed, the HVAC system is instantly contaminated. The moment it activates, it pulls residual dust from the room into the ductwork, effectively turning the entire heating and ventilation network into a systemic contamination distribution engine. This single error negates all the meticulous cleaning work you’ve just done.
For a property in Quebec, where forced-air systems are present in over 60% of homes, this mistake has long-term consequences. Throughout the long winter heating season, the contaminated system will continuously circulate fine silica dust into every room of the house. This leads to persistent air quality issues, potential health complaints, and the inevitable costly callback. The only remedy at that point is a professional duct cleaning, a service that can cost the homeowner (or you) between $500 and $800. It’s a significant and entirely avoidable expense born from a simple process error.
To prevent this costly mistake, a strict post-renovation HVAC protocol is non-negotiable. This procedure ensures the system is brought back online without introducing contaminants into the ductwork. It’s the final guardrail that protects the building’s respiratory system.
Your Action Plan: Post-Renovation HVAC Protocol
- Remove protective tape from vents only after the final construction clean is 100% complete and air scrubbers have run for at least 24 hours.
- Install new, high-quality filters (MERV 13 or higher is recommended) in the furnace/air handler before restarting the system for the first time.
- Run the system in “Fan-Only” mode for at least 2 hours with a few windows slightly open to flush the system and create a final air exchange.
- Replace these “sacrificial” filters with another new set after 24 hours of normal operation to capture any remaining dust.
- Recommend a professional duct inspection to the client within 30 days of occupancy as a final quality assurance step.
How to Schedule the “Rough Clean” vs “Final Clean” to Avoid Double Work?
One of the most common inefficiencies in post-construction cleanup is the failure to properly sequence the cleaning phases. Many contractors treat cleanup as a single event at the very end of the project. This approach inevitably leads to rework, as dust from minor final touch-ups (e.g., paint, caulking) contaminates already-cleaned surfaces. A structured, two-phase approach—the “Rough Clean” and the “Final Clean”—is essential for efficiency and a truly pristine result. This scheduling saves time, money, and prevents the frustration of cleaning the same area multiple times.
The Rough Clean should be scheduled after all major construction, demolition, and installation work is complete, but *before* final finishes like painting touch-ups, flooring sealant, or final trim work. The goal of this phase is bulk removal. It involves:
- Removing all large debris, leftover materials, and protective coverings.
- A thorough “top-to-bottom” sweep and HEPA vacuum of all surfaces, including walls, ledges, and fixtures.
- This phase removes the vast majority (80-90%) of the construction dust and prepares the site for the finishing trades.
The Final Clean is the last step before client handover. It should only occur after *all* trades have completely finished their work and left the site. This is the detailed, “white glove” phase that addresses the fine, residual dust. Critically, it must take place after the 24-48 hour particle settling period. This phase includes damp wiping all surfaces, cleaning windows, polishing fixtures, and the final floor cleaning with an auto-scrubber. Attempting this level of detail before all work is done is pointless. In the Montreal market, professional cleaning services charge between $250 and $700 for a residential final clean; having to perform it twice due to poor scheduling is a direct hit to your project’s profitability.
The Renovation Mistake That Clogs Ducts Before the Building Opens
Beyond the simple contamination by fine dust, a far more dangerous issue can arise from improper HVAC protection during renovation: the introduction of larger debris into the ductwork. Small chunks of drywall, wood splinters, screws, and plastic sheeting scraps can easily fall into unprotected duct openings. This debris doesn’t just spread dust; it creates physical blockages that severely impact the HVAC system’s performance and safety. These blockages increase static pressure, forcing the furnace fan motor to work harder and run longer, leading to premature failure and increased energy consumption.
More alarmingly, this debris poses a direct fire hazard. According to Canadian safety regulations, construction debris accumulating near heat exchangers or electrical heating elements is a significant fire risk. A piece of wood or plastic lodged against a hot component can easily ignite, turning the ductwork into a conduit for smoke and fire throughout the building. This is a catastrophic failure that stems directly from a lack of diligence during the construction phase. It’s a liability that no contractor can afford to overlook.
The financial impact is also significant, especially in Quebec’s climate where heating systems run for months. Debris blockages can easily increase winter heating costs by 10-15%. For an average household, this can translate to over $250 in additional charges on their Hydro-Québec bill over a single winter. This is a tangible, frustrating cost for the new building owner, directly attributable to the renovation process. Ensuring vents are not just covered with tape, but are securely sealed with plywood or rigid board during heavy work, is a critical preventative measure.
How to Transition from Carpets to Hard Floors While Minimizing Dust Clouds?
Renovation projects in mixed-use or partially occupied spaces, like a condo renovation in a building with carpeted common hallways, present a unique challenge: preventing dust from the work area from contaminating adjacent carpeted zones. Carpet acts like a magnet for fine dust, and once contaminated, it’s extremely difficult to clean thoroughly. Cross-contamination from a hard-floor work zone to a carpeted area can create major issues with building management and other residents.
The key to managing this transition is a combination of containment and strategic workflow. You cannot simply clean one area and then the other; you must actively prevent the dust from moving in the first place. A practical case from a renovation in a typical Plateau-Mont-Royal apartment illustrates this perfectly. By protecting the original hallway carpet while cleaning newly installed hardwood, a professional team used adhesive sticky mats at the doorway and maintained a slight negative pressure in the renovated area. This combination reduced cross-contamination by an estimated 90% and prevented dust migration into the building’s common areas.
The correct workflow is non-negotiable for success in these scenarios:
- Establish a Barrier: Use adhesive sticky mats at every transition point between the hard floor work area and the carpet. These mats pull dust off the soles of shoes and equipment wheels.
- Contain the Air: If possible, create a slight negative pressure in the hard-floor work area using an air scrubber ducted to the outside. This ensures air flows *into* your work zone, not out of it.
- Clean from Clean to Dirty: Always direct your cleaning efforts from the cleaner area (the carpet) towards the source of the dust (the hard floor).
- Use the Right Tools in Order: Begin by using the auto-scrubber on the hard floors to capture and extract the majority of the dust. Only after this is complete should you switch to a sealed-system HEPA vacuum for the adjacent carpeted areas.
- Maintain the Barrier: Replace the sticky mats frequently, as they become saturated with dust after just a few passes.
Key Takeaways
- The reappearance of dust is not magic but the result of ultra-fine particles settling over 24-48 hours, requiring a phased cleaning approach.
- Negative air pressure zones are the professional standard for containing dust at the source and preventing cross-contamination.
- A clean HVAC system is paramount; improper vent protection and cleaning protocols lead to systemic recontamination and higher energy bills.
Why Dirty HVAC Ducts Increase Your Winter Heating Bills by Over 10%?
For a Quebec homeowner, the Hydro-Québec bill is a significant and sensitive part of their annual budget. What many don’t realize is the direct link between the cleanliness of their HVAC ducts and the size of that bill. Ducts clogged with post-renovation debris and fine dust force the entire system to work harder. This layer of dust insulates the ducts, reducing the efficiency of heat transfer. More importantly, it creates resistance, or static pressure, which makes the furnace’s fan motor strain to push air through the system. This increased workload leads directly to higher energy consumption.
As Natural Resources Canada has highlighted in energy efficiency studies, this is not a trivial amount. The financial impact is clear, as experts note:
A 10-15% increase can mean $250+ over a single winter on your Hydro-Québec bill.
– Natural Resources Canada, Energy efficiency studies referenced by Canadian authorities
As the contractor, ensuring clean ducts at handover is not just a courtesy; it’s a direct contribution to your client’s long-term financial well-being. The tools to achieve this are specialized. The use of commercial-grade HEPA filters is fundamental, as OSHA standards confirm HEPA filters are 99.97% efficient in removing hazardous particles down to 0.3 micrometers, the exact size range of fine silica dust. This level of filtration, combined with a proper duct cleaning protocol, restores the system to its optimal, energy-efficient state.
The cost-benefit analysis for the homeowner is overwhelmingly positive. The initial investment in a proper post-construction clean, including the HVAC system, pays for itself through energy savings and reduced maintenance.
| Factor | Dirty Ducts | Clean Ducts | Annual Savings |
|---|---|---|---|
| Energy Efficiency Loss | 10-15% | 0% | $250-375 |
| Filter Replacement Frequency | Monthly | Quarterly | $120 |
| System Maintenance | Annual | Bi-annual | $200 |
| Health-related costs | Increased allergens | Reduced allergens | Variable |
By shifting your perspective from simple “cleaning” to “industrial hygiene,” you transform the final phase of your project from a cost center into a value-added service. Implementing these scientific principles not only ensures a visibly pristine site but also delivers a verifiably safe and efficient environment for the building’s occupants. For a professional Quebec contractor, this commitment to air quality is the ultimate hallmark of quality, protecting your reputation and ensuring client satisfaction long after you’ve left the site. To put these strategies into practice, the next logical step is to build a standardized post-renovation cleaning checklist for your teams.